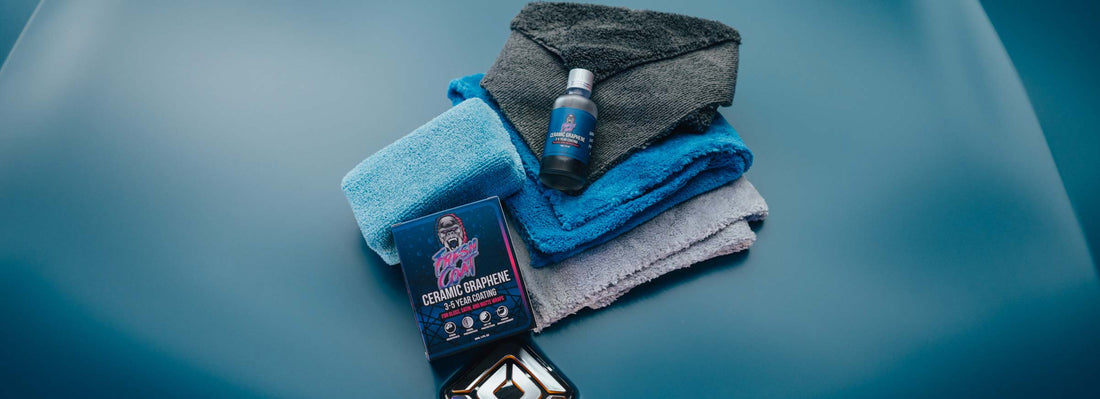
Fresh Coat | How To Ceramic Coat Your Wrap
Why Ceramic Coat Your Vehicle?
You (or your customer) just dropped a fat chunk of change on a brand new wrap and don't want it to get ruined. Wrap films and vehicle paint is vulnerable to the sun, scratches, and chemical stains. The best way to protect your vehicle is to ceramic coat it. Your wrap will last significantly longer, and won't be as susceptible to damage.

How To Apply A Ceramic Coating To Your Vehicle
Here's the quick breakdown. Scroll through for more details.
- Clean and prep your surface
- Apply the ceramic coating
- Level the ceramic coating
- Polish the ceramic coating
- Let the coating cure
Don't be intimidated by ceramic coating. When it comes down to it, it's just a step-by-step process that anyone can do. Is it technical and tricky? Yes, but you're in the right place to learn how to successfully apply it from start to finish. Are you more of a visual learner? We uploaded a video down below.
Step 1: Clean and Prep
Clean your first panel - A wise man once said: "Your finished product is only as good as your starting product." So give your vehicle a proper bath and then wipe down every panel with diluted alcohol and a microfiber towel. Wear gloves!
Step 2: Apply the Ceramic Coating
Drip your applicator pad - Your Fresh Coat Kit comes with either a standard applicator or a premium applicator pad. Drip a healthy amount of Fresh Coat on to one side of your applicator pad until the face is saturated. The pad should now be able to apply an even streak of ceramic coating on to the vehicle.
Apply the first panel - You should apply ceramic one panel at a time (fender, bumper, door, etc.). Do not attempt to apply an entire vehicle in one go. Carefully apply the ceramic coating to your first panel from left to right, then top to bottom. Cover every inch of your panel and don't miss any spots. The panel should be sufficiently coated, but not dripping wet.
Step 3: Level the Ceramic Coating
Level the first panel - Grab your blue microfiber towel (Towel A) and fold it into a nice even square. Working left to right and top to bottom, gently wipe your panel to level out any high spots in the ceramic. The goal of leveling is to flatten out the coating so that it cures evenly. You have about one minute before the ceramic begins to set. Work quickly, but evenly to ensure a nice finished product.
Step 4: Polish the Ceramic Coating
Polish the first panel - Now that the coating is level and is beginning to set, you want to polish the excess ceramic off of the vehicle. Take your grey microfiber towel (Towel B) and fold it into a nice even square. Working left to right and top to bottom, polish the panel using a circular motion and with even pressure.
Repeat - Now you can repeat steps 1 - 4 for the rest of the vehicle.
Step 5: Let the Coating Cure
Cure and repeat - Ceramic coating requires 12-24 hours to set, and then 5 days to fully cure.
Set - Now that the coating has been polished, allow it to set for 12-24 hours uninterrupted in a climate controlled, clean, and ventilated space. Don't get it wet, or apply any other chemicals to it.
Cure - After the ceramic has set for 12-24 hours, allow it to fully cure for 5 days. During the curing process you can use your car normally. It can get wet, but void heavy rain, snow, dirt, grime, and other chemicals.
Enjoy - Your vehicle is now fully protected and you get to use it normally and enjoy the benefits. Send us pictures!
1 comment
is a bottle enough to cover a car, you guys how much you charge for a ceramic coat ?